
The Product Design VR Stack
The Software & Hardware Tools Behind VR, MR, & AR Prototypes
Written By Anne-Elise Chung & Emad Khan
Unity, Unreal Engine & Game Development
Many of the tools that help create games are also very useful in creating simulated environments for user testing and prototyping. Unity 3D game engine provides a platform for us to combine our 3D models and material information with user interactions. This platform provides different features and code libraries to help simulate lighting, physics, and player interactions. Think of it as a workshop, a space and set of tools that let users build things, such as games or short films. With the Unity game engine, we can build VR content that runs on desktop computers and laptops, or AR content that runs on cell phones and tablets.

Much of what makes games fun also helps make virtual prototypes more engaging!
We use Unity to:
Create animations for moving designs, such as robotic devices
Create videos that demonstrate how products are approached and used
Implement code for custom interactions, such as opening a door or controlling a robot
Pair sensors (tracking devices) and microcontrollers (like Arduino) to create custom physical interactions that sync with their virtual counterparts
3ds Max & Octane Render
We use 3ds Max to translate our CAD models from Solidworks and Siemens NX into Unity. More specifically, converting CAD to Unity involves taking a parametric model or a feature-based model and converting it to polygonal model (triangulated surfaces) seen in the picture below.

On the left, a CAD model in Solidworks. On the right, the same design but imported as a mesh into 3ds Max. Note all the triangulations on the mesh.
If you are familiar with CAD software and haven’t used 3ds Max or other similar 3D modeling programs, it might not make sense why this conversion process is necessary. One key thing to understand is that CAD models are generally used to represent real, physical forms, where a high level of accuracy is very important. But when it comes to rendering and VR experiences, high accuracy can slow down your computer, and impact the immersive experience. Also with CAD models, it is much more difficult to control the texturing of materials on the model. More specifics on that below.
Max has helpful features to optimize and prepare geometry for viewing in VR, such as CAD conversion as explained earlier. Another of these features is UV unwrapping, which is similar to peeling an orange and laying the peel flat. Why is this important? UV mapping gives us more control on the size, direction, and resolution of different materials as they appear on a 3D object. The example below shows a very simple room on the left and all of the walls and floor unwrapped on the right.

An example of a room and its corresponding texture map on the right.
Within Max, we use the Octane plugin to generate quick previews of our rendered 3D models. Octane allows us to use our GPUs (graphics card processors) to create renders more quickly. We also use Octane’s Standalone Renderer to bake our texture as a batch process. This process involves taking all the lighting & texturing information on a model (shadows) and rendering it to a 2D image.
Finally, we export our models as FBX files from Max into Unity. The FBX format makes it easier to keep the materials connected with the geometry information.
Here’s an example of one of our environments created with a combination of rendering in Octane and lightmapping in Unity.
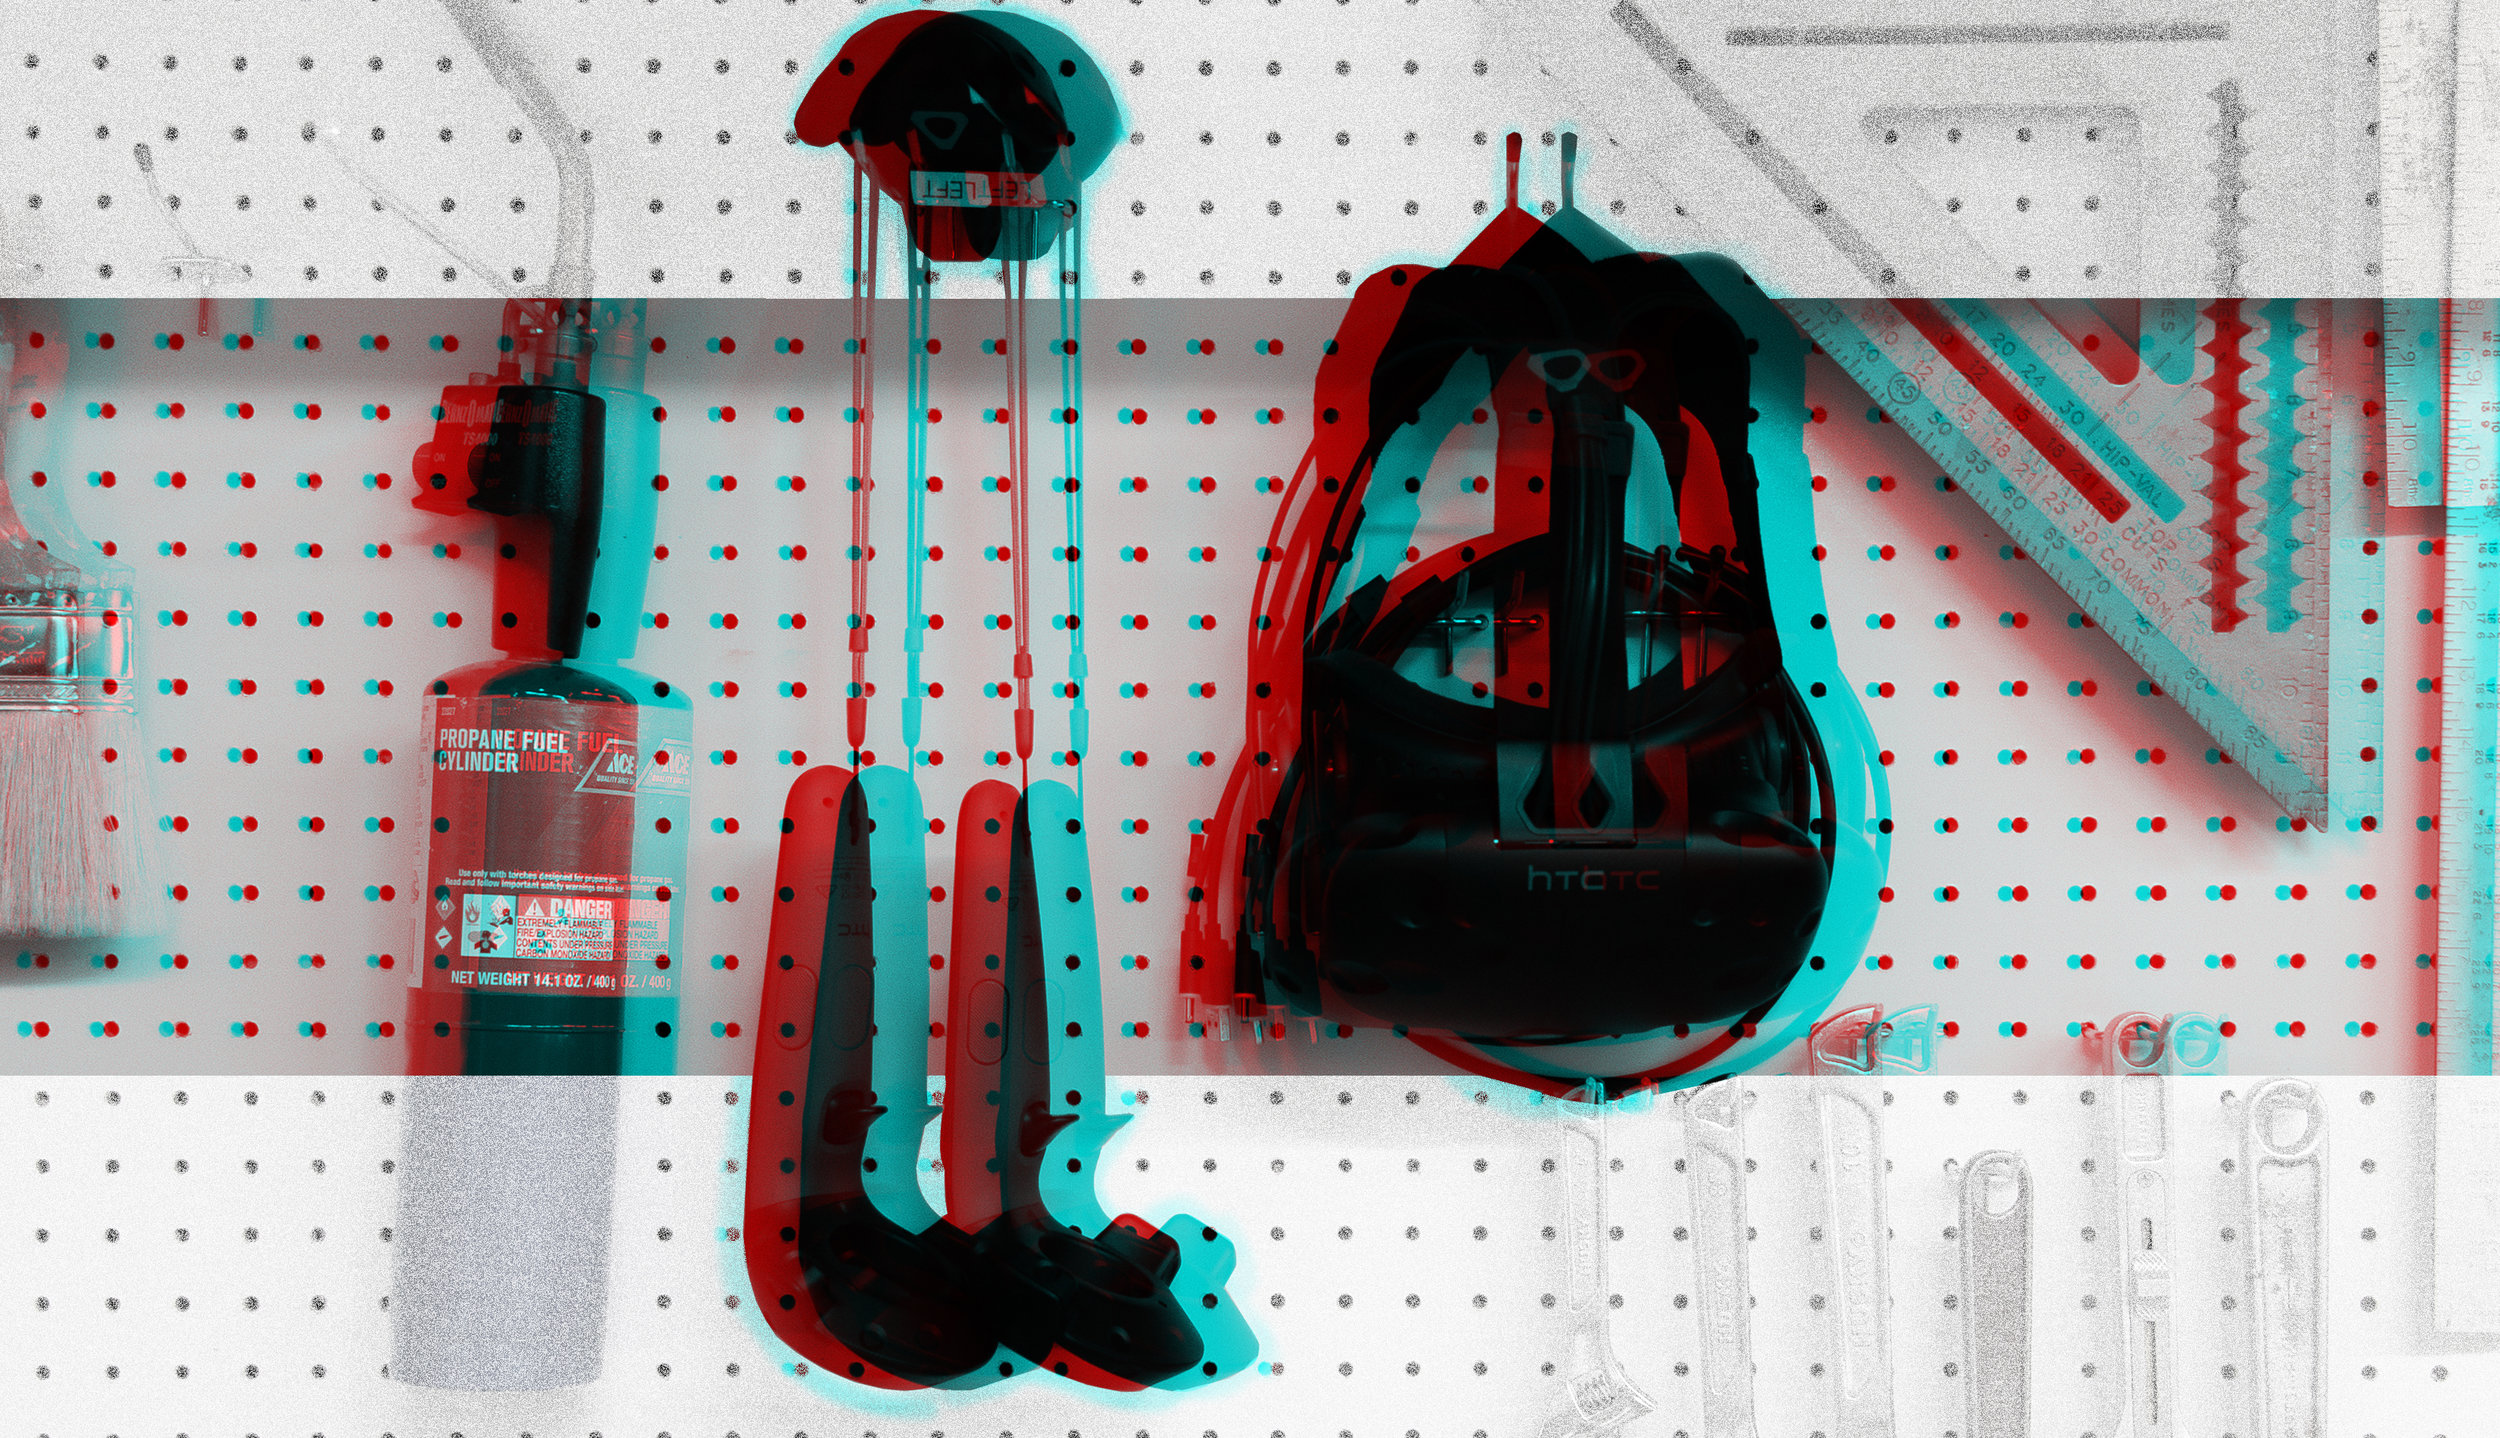
Headsets, Base stations, Controllers & Trackers
Ok, the headset part of this is no surprise. This is largely what people think of when they hear the term “virtual reality”. Stereoscopic viewing via an HMD (head-mounted display) provides users with an immersive way to see digital objects, making it easier to gain an accurate understanding of a product versus looking at it on a flat, monoscopic computer screen. Users can view design concepts at 1:1 scale without the cost and added lead time of producing a physical mockup. Testing virtual prototypes in VR does not fully replace their physical counterparts, but it does allow designers to gain an understanding of scale and form before committing to the next step of physical production.
Primarily, we use Vive and Vive Pro headsets for testing and development. When we want to visualize design solutions using the widest field of vision possible, we use a Pimax 5k headset. This headset can provide a field of view of up to 200 degrees wide, which is much closer to the 210-degree visual field of most people. When we need to set up quickly, we use the Samsung Odyssey Plus, since it doesn’t require external base stations to track head and controller movements.
Systems we use: HTC Vive, Samsung Odyssey Plus, and Pimax 5K
Base stations are what make accurate head and controller tracking possible. They locate the position of the headset and controllers as a user turns their head or waves their arms. We’ve mounted our base stations to the ceiling to make the transition between developing and testing more seamless. Often times, when working on a VR or MR prototype, it helps to make changes and then immediately see them in VR to assess your work and what changes need to be made next. Fixing the base stations to one spot makes it easier to pop in and out of a headset without worrying about resetting the position of the base stations relative to the headset.
Some headsets don’t need base stations or other kinds of external sensors to help track user movements (such as the previously mentioned Samsung Odyssey Plus).
Controllers provide a standard hardware interface to program controls into, making it easy to developer standard interactions such as pressing a button, opening a door, or scrubbing through different animations of a robot arm. When we need to design a physical interface, or when we want a higher level of immersion, we can also make custom controls using micro-controllers such as Arduino.

Examples of different physical controls that we custom integrate into the virtual experience.
Trackers enable path of travel studies, and motion tracking for human factors studies. They can be attached to a user almost anywhere on the body. As such, they are helpful for testing and calculating reach heights, bend angles, and gathering other anthropometric data. They can also be attached to objects to perform asset tracking within a space or simulate other types of interactivity. Stay tuned for more on VR for human factors testing and research.
A path of travel and motion tracking study using Vive trackers.
That sums up a small glimpse of the software and hardware in the VR stack here at Formation Design Group. If you’re curious about the value of VR, check out our previous article on why VR is such a game-changer for product design and development processes. Or if you’re ready to introduce VR to your product development process, contact us.